Back to All Mod Cons
Last updated: February 28, 2004
1. Increase Random Output LevelChanged R11 from 100K to 27K to get 10 Vpp on Random output. Random output level is now similar to Pink output level. |
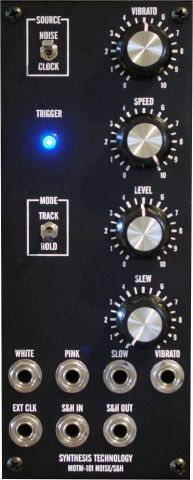
2. Use Blue LED For TRIGGERYou'd think that changing from a red LED to a blue LED would be trivial. Not so with this module. The problem with blue LEDs is that they tend to be extremely bright compared to the more common red/green/yellow varieties. To prevent them from burning holes in your retina, the current has to be reduced substantially. In general, I've found that replacing the current limiting resistor with one that is 8 to 10 times greater produces a pleasant soft blue light that is easy on the eyes. Changing the current limiting resistor is easy to do in circuits that use a dedicated LED driver. But this is not the case with the MOTM-101. You can try to reduce the current by increasing R28 and R29. But as R29 is increased, more of the vibrato signal gets fed back to the sample and hold circuitry which adversely affects the operation of the module. Instead, I chose to drive the TRIGGER LED directly off U7B with a resistor to ground. This allows me to customize the LED brightness without affecting the remainder of the circuitry. The procedure is simple:
|